
DIY Delight: Step-by-Step Tips for Successful Popcorn Ceiling Repair
Ah, the charm of popcorn ceilings – textured wonders that have adorned homes for decades. But what happens when that unique texture starts showing signs of wear and tear? Lucky for you, we are here to help!

How to Fix Your Popcorn Ceiling
In this guide, we’ll walk you through the step-by-step process of popcorn ceiling repair, turning what might seem like a daunting task into a DIY delight.
Assessing the Damage: Identify the Troublemakers
Before you grab your tools, take a close look at your popcorn ceiling to assess the damage. Identify areas with peeling or damaged texture. This initial inspection will help you determine the extent of the repair needed. Is the damage localized, or does it span a larger area?
Prepare Your Workspace: Cover, Protect, and Gather Supplies
Once you’ve identified the trouble spots, it’s time to prepare your workspace. Cover the floors and furniture with plastic sheets or drop cloths to catch any falling debris or texture. Protect yourself by wearing safety glasses and a dust mask to shield against potential irritants. Now, gather your supplies – a putty knife, a bucket, water, a popcorn texture repair kit, and a paintbrush. Having everything within reach ensures a smooth and efficient repair process.
Scrape Away Loose Texture: Ready, Set, Scrape!
With your workspace set up, it’s time to tackle the repair. Start by using a putty knife to gently scrape away any loose or damaged popcorn texture. Be careful not to damage the underlying drywall. The goal here is to create a smooth surface for the new texture to adhere to. Take your time with this step, ensuring that you remove all the compromised textures while leaving the intact portions undisturbed.
Apply the New Popcorn Texture: Texture Magic in a Can
Now comes the fun part – applying the new popcorn texture. Shake the texture can according to the manufacturer’s instructions, and then test it on a piece of cardboard or scrap drywall to get a feel for the spray pattern. Once you’re comfortable, aim the can at the ceiling and apply the texture evenly. Keep a consistent distance from the ceiling to ensure uniform coverage. Allow the texture to dry according to the product’s recommended drying time.
Blend and Match: Paint for a Seamless Finish
After the new popcorn texture has dried, it’s time to bring everything together with a fresh coat of paint. Choose a high-quality paint that matches the existing color of your ceiling. Using a paintbrush or roller, carefully apply the paint, feathering the edges to blend the repaired areas seamlessly with the rest of the ceiling. This final touch not only conceals the repairs but also gives your popcorn ceiling a revitalized and cohesive appearance.
Conclusion: How to Fix Your Popcorn Ceiling
Congratulations, DIY enthusiast! You’ve successfully navigated the steps of popcorn ceiling repair and turned a potentially intimidating task into a delightful project. The charm of your popcorn ceiling has been restored, and your space is ready to shine once again. So, revel in the satisfaction of a job well done, and enjoy the beauty of your textured haven.
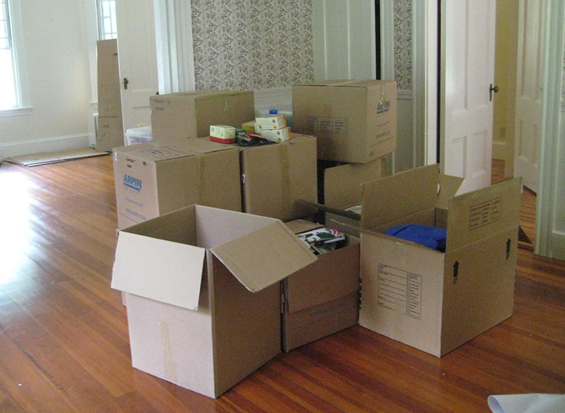
Tips for Cleaning the House when Moving Out
Moving out of a house can be an exciting new chapter in your life, but it also comes with the responsibility of leaving the place clean and tidy for the next occupants. Cleaning the house thoroughly ensures a smooth transition and leaves a positive impression on the next residents. However, it can be daunting, especially with all the packing and organizing involved in a move.
Calgary Move Out Cleaning Tips
In this article, we will provide you with some helpful Calgary move out cleaning tips, so you can leave with peace of mind and a spotless home.
Create a Cleaning Plan and Checklist
Before diving into the cleaning process, creating a cleaning plan and checklist is essential. Assess each room and list all the tasks that need to be completed, including dusting, vacuuming, mopping, wiping down surfaces, and more. Organize your tasks by room and create a timeline to keep you on track with the cleaning process. A well-structured plan will help you stay organized and prevent essential tasks from being overlooked.
Start with Decluttering and Packing
Before deep cleaning, start by decluttering and packing up your belongings. Remove unnecessary items and pack up your personal belongings to have a clear and clutter-free space to work with. This will make the cleaning process more manageable and ensure you don’t miss any areas hidden behind furniture or belongings.
Clean Room by Room
To maintain efficiency and avoid feeling overwhelmed:
- Clean the house room by room.
- Begin with one room at a time, focusing on the big tasks, such as vacuuming and mopping, and the smaller details, like wiping down baseboards and cleaning light fixtures.
- As you complete each room, check it off your cleaning checklist, giving you a sense of accomplishment and motivation to move on to the next area.
Don’t Forget the Overlooked Areas
When moving out, it’s easy to overlook certain areas that may not be in plain sight. Remember to clean behind appliances, inside cabinets, and the tops of ceiling fans and window frames. Don’t forget to clean inside the oven, refrigerator, and microwave, as these are often overlooked but essential areas that the next occupants will appreciate.
Consider Professional Cleaning Services
If you find cleaning the entire house overwhelming, consider hiring professional cleaning services. A professional cleaning team can efficiently and effectively clean your home from top to bottom, leaving it spotless and ready for the next occupants. Hiring professionals can save you time and energy, allowing you to focus on other aspects of your move.
Conclusion: Calgary Move Out Cleaning Tips
Cleaning the house when moving out is a vital part of the moving process. Creating a cleaning plan and checklist, starting with decluttering, cleaning room by room, not forgetting the overlooked areas, and considering professional cleaning services are all essential to ensure you leave the house in pristine condition.
By following these tips, you can move out confidently, knowing you’ve left a clean and welcoming home for the next chapter in someone else’s life.
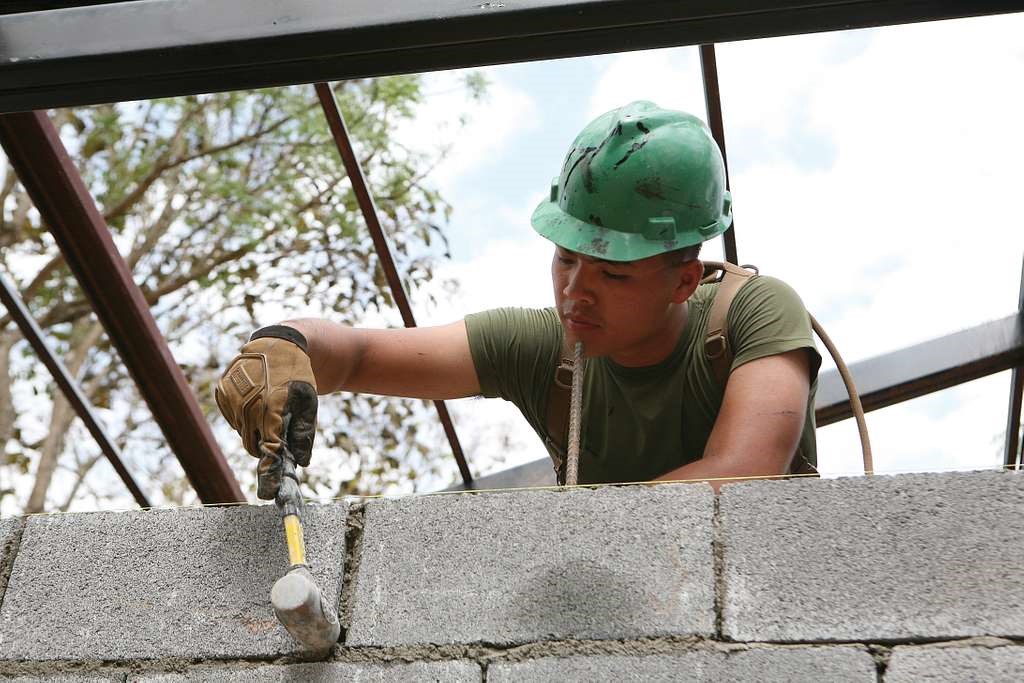
The Versatility of Cinder Blocks: Exploring Creative Uses in Construction and Landscaping
Cinder or concrete blocks are one of the most versatile and cost-effective building materials available. Initially designed for structural purposes, these blocks have become popular for construction and landscaping projects. From building sturdy walls to creating beautiful garden features, cinder blocks offer endless possibilities for homeowners and professionals alike.
How Versatile Are Decorative Cinder Blocks?
In this article, we’ll delve into the versatility of decorative cinder blocks and explore their creative uses in construction and landscaping.
Building Solid Structures: The Foundation of Construction
Cinder blocks are renowned for their strength and stability, making them an excellent choice for constructing solid and durable structures. From foundations and retaining walls to load-bearing walls in buildings, cinder blocks provide a robust framework that can withstand the test of time.
Their uniform shape and size also make them easy to work with. Whether a small garden shed or a multi-story building, cinder blocks are the reliable foundation for various construction projects.
Raised Garden Beds: Green Thumb’s Delight
Cinder blocks have found a special place in landscaping in creating raised garden beds. These beds not only provide a convenient and accessible way for gardening enthusiasts to tend to their plants but also add an attractive element to outdoor spaces.
The hollow centers of cinder blocks can be filled with soil, allowing for excellent drainage and root growth. Gardeners can get creative with different layouts and arrangements, stacking the blocks to various heights and creating unique designs for their garden beds.
Outdoor Seating and Fire Pits: An Entertainer’s Dream
Cinder blocks can be repurposed to create functional and stylish outdoor seating and fire pits. By strategically arranging cinder blocks, homeowners can design custom seating arrangements that fit their space perfectly.
Adding cushions or pillows to the top of the blocks provides a comfortable seating area for gatherings and relaxation. Similarly, stacking cinder blocks in a circular pattern allows for constructing a sturdy and cost-effective fire pit.
Vertical Gardening: Going Green in Limited Spaces
For those with limited space, cinder blocks offer a fantastic solution for vertical gardening. By stacking the blocks vertically and securing them with adhesive or mortar, gardeners can create a space-saving and visually appealing vertical garden.
The holes in the blocks can be utilized as individual planting pockets. Vertical gardens add a touch of greenery to tight spaces and serve as attractive decorative features on walls or fences.
Decorative Walls and Privacy Screens: Beauty with Purpose
Cinder blocks can be transformed into decorative walls and privacy screens, adding beauty and purpose to outdoor spaces.
By arranging the blocks in various patterns and combining them with other materials like wood or metal, homeowners can create eye-catching walls that define boundaries and add visual interest to the landscape.
Conclusion: How Versatile are Decorative Cinder Blocks?
The versatility of cinder blocks is genuinely remarkable. Whether building solid structures, crafting raised garden beds, designing outdoor seating and fire pits, implementing vertical gardens, or creating decorative walls and privacy screens, cinder blocks prove their adaptability and value in transforming ordinary spaces into extraordinary ones.
How to Hire a Professional Drywall Repair Company
Hiring a professional company can save you time and effort when repairing your drywall and ensure a high-quality result. However, with numerous options available, selecting the right drywall repair company can be daunting.
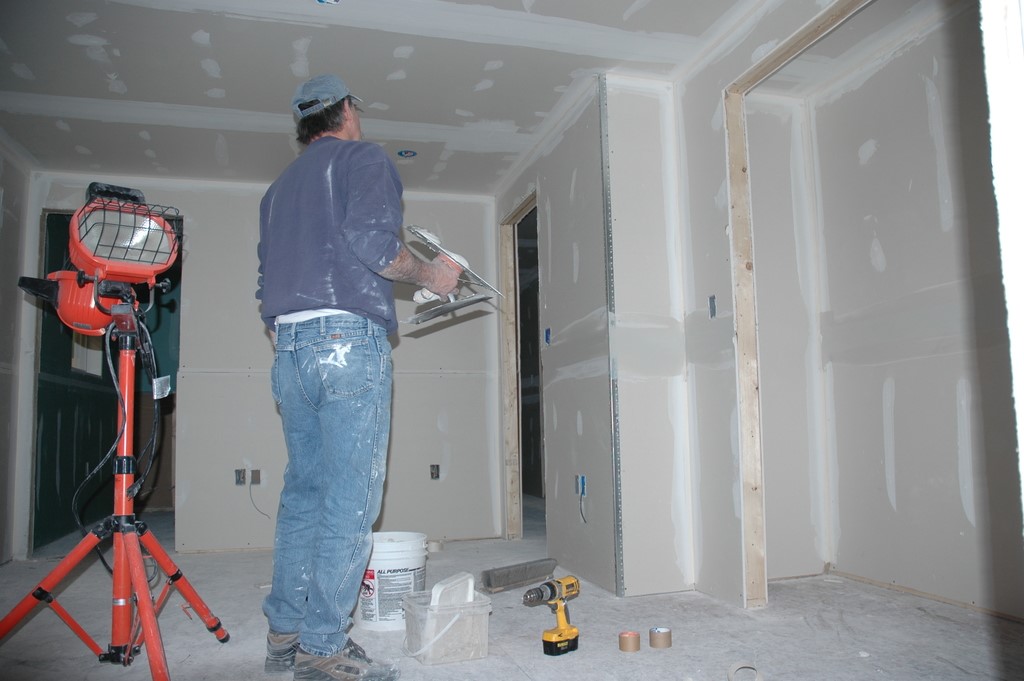
Tips for Hiring a Drywall Repair Arvada Professional
However, you shouldn’t worry. We are here to help. In this guide, we’ll walk you through the steps to hire a reliable and skilled drywall repair Arvada company that will meet your needs and deliver exceptional results.
Research and Gather Recommendations
First of all, you need to start by researching local drywall repair companies in your area. Check online reviews, testimonials, and ratings to understand their reputation and customer satisfaction. Contact friends, family, and neighbors for recommendations if they have recently had drywall repairs done. Gathering information from multiple sources will help you narrow your options and find the most reputable companies in your area.
Verify Licenses and Insurance
Before proceeding further, ensure the drywall repair company is licensed and insured. A valid license demonstrates that the company meets the requirements and adheres to industry standards. Insurance is equally important as it protects you from liability in accidents or damages during the repair process. Request the company’s license number and verify its validity with your local licensing authority. Also, ask for insurance proof, including liability and worker’s compensation coverage.
Request Estimates and Compare Quotes
Contact the shortlisted drywall repair companies and request detailed estimates for your project. A reputable company will gladly provide you with a written estimate outlining the work scope, materials, labor costs, and timeline. When comparing quotes, be cautious of exceptionally low or high prices. While affordability is essential, extremely low prices may indicate subpar materials or craftsmanship, while overly high prices may not be justified by the scope of work.
Check References and Past Work
Ask the drywall repair company for references from previous clients. A trustworthy company will happily provide you with contacts of satisfied customers. Reach out to these references to inquire about their experience with the company’s services, the quality of the work done, and whether the project was completed within the agreed timeline and budget. Additionally, request to see pictures or examples of past drywall repair projects to assess the company’s workmanship and attention to detail.
Evaluate Communication and Professionalism
Lastly, effective communication is essential throughout the drywall repair process. Because of that, assess how the company handles your inquiries and whether they promptly respond to your calls or emails. A professional drywall repair company will be transparent about the project, answer all your questions, and provide clear explanations. They will also provide a written contract that outlines all terms and conditions, including the scope of work, payment schedule, and project timeline.
Conclusion: Tips for Hiring a Drywall Repair Arvada Professional
Hiring a professional drywall repair company ensures seamless and high-quality wall repair. By researching and gathering recommendations, verifying licenses and insurance, requesting estimates, checking references and past work, and evaluating communication and professionalism, you can make an informed decision and hire a reliable company.
Recent Comments