
DIY Delight: Step-by-Step Tips for Successful Popcorn Ceiling Repair
Ah, the charm of popcorn ceilings – textured wonders that have adorned homes for decades. But what happens when that unique texture starts showing signs of wear and tear? Lucky for you, we are here to help!
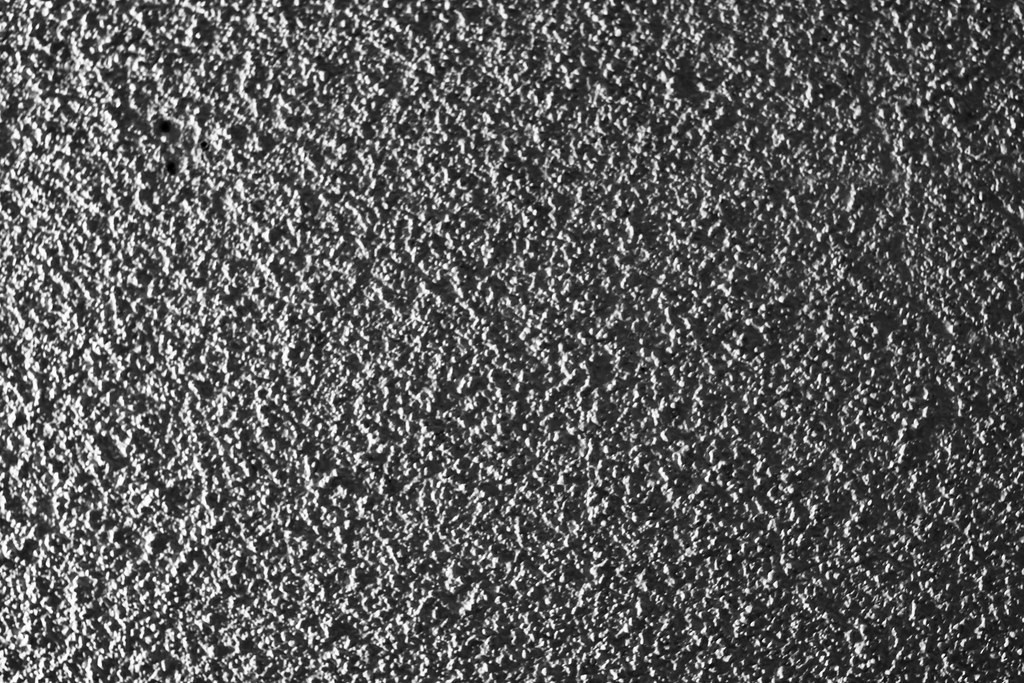
How to Fix Your Popcorn Ceiling
In this guide, we’ll walk you through the step-by-step process of popcorn ceiling repair, turning what might seem like a daunting task into a DIY delight.
Assessing the Damage: Identify the Troublemakers
Before you grab your tools, take a close look at your popcorn ceiling to assess the damage. Identify areas with peeling or damaged texture. This initial inspection will help you determine the extent of the repair needed. Is the damage localized, or does it span a larger area?
Prepare Your Workspace: Cover, Protect, and Gather Supplies
Once you’ve identified the trouble spots, it’s time to prepare your workspace. Cover the floors and furniture with plastic sheets or drop cloths to catch any falling debris or texture. Protect yourself by wearing safety glasses and a dust mask to shield against potential irritants. Now, gather your supplies – a putty knife, a bucket, water, a popcorn texture repair kit, and a paintbrush. Having everything within reach ensures a smooth and efficient repair process.
Scrape Away Loose Texture: Ready, Set, Scrape!
With your workspace set up, it’s time to tackle the repair. Start by using a putty knife to gently scrape away any loose or damaged popcorn texture. Be careful not to damage the underlying drywall. The goal here is to create a smooth surface for the new texture to adhere to. Take your time with this step, ensuring that you remove all the compromised textures while leaving the intact portions undisturbed.
Apply the New Popcorn Texture: Texture Magic in a Can
Now comes the fun part – applying the new popcorn texture. Shake the texture can according to the manufacturer’s instructions, and then test it on a piece of cardboard or scrap drywall to get a feel for the spray pattern. Once you’re comfortable, aim the can at the ceiling and apply the texture evenly. Keep a consistent distance from the ceiling to ensure uniform coverage. Allow the texture to dry according to the product’s recommended drying time.
Blend and Match: Paint for a Seamless Finish
After the new popcorn texture has dried, it’s time to bring everything together with a fresh coat of paint. Choose a high-quality paint that matches the existing color of your ceiling. Using a paintbrush or roller, carefully apply the paint, feathering the edges to blend the repaired areas seamlessly with the rest of the ceiling. This final touch not only conceals the repairs but also gives your popcorn ceiling a revitalized and cohesive appearance.
Conclusion: How to Fix Your Popcorn Ceiling
Congratulations, DIY enthusiast! You’ve successfully navigated the steps of popcorn ceiling repair and turned a potentially intimidating task into a delightful project. The charm of your popcorn ceiling has been restored, and your space is ready to shine once again. So, revel in the satisfaction of a job well done, and enjoy the beauty of your textured haven.
Recent Comments